To test only one condition, <xsl:if></xsl:if> is used.

<xsl:if test="price > 10">
    <tr>
        <td><xsl:value-of select="title"/></td>
        <td><xsl:value-of select="artist"/></td>
    </tr>
</xsl:if>

To express multiple conditional tests you should use a combination of <xsl:choose> and <xsl:when>.

<xsl:choose>
    <xsl:when test="price>'10'">
        <td bgcolor="#ff00ff">
            <xsl:value-of select="artist"/>
        </td>
    </xsl:when>
    <xsl:otherwise>
        <td>
            <xsl:value-of select="artist"/>
        </td>
    </xsl:otherwise>
</xsl:choose>

All you have to do is select the field you want to display as link and then change the code from:

<xsl:value-of select="@VariableName"></xsl:value-of>

to

<xsl:value-of select="@VariableName" display-output-escaping="yes"></xsl:value-of>

This works in SharePoint 2010, if you’re on 2013 you should use the following (notice the closing tag):

<xsl:value-of select="@AssignedTo" disable-output-escaping="yes" />

Thanks to Ryan Tate for pointing it out.

Interesting fact I got from IFLS.

Eigengrau is the shade of black seen by the human eye in complete darkness.

This isn’t any old shade of black, it is precisely #16161D. With no available light to contrast objects against one another, it is possible to be in the presence of items that are darker black without being able to perceive them that way.

I changed the color of a couple of elements around the blog to Eigengrau, just because it’s cool and kind of geeky!

I don’t know if this is true or just something the internet made up, but these “rules” are very real and it is definitely nice to have someone remind us about them every once in a while. Let this someone be me this time.

Bill Gates once gave a speech at a High School about 11 things students did not and will not learn in school.

Rule 1: Life is not fair – get used to it!

Rule 2: The world won’t care about your self-esteem. The world will expect you to accomplish something BEFORE you feel good about yourself.

Rule 3: You will NOT make $60,000 a year right out of high school. You won’t be a vice-president with a car phone until you earn both.

Continue reading

Canon EOS 650D

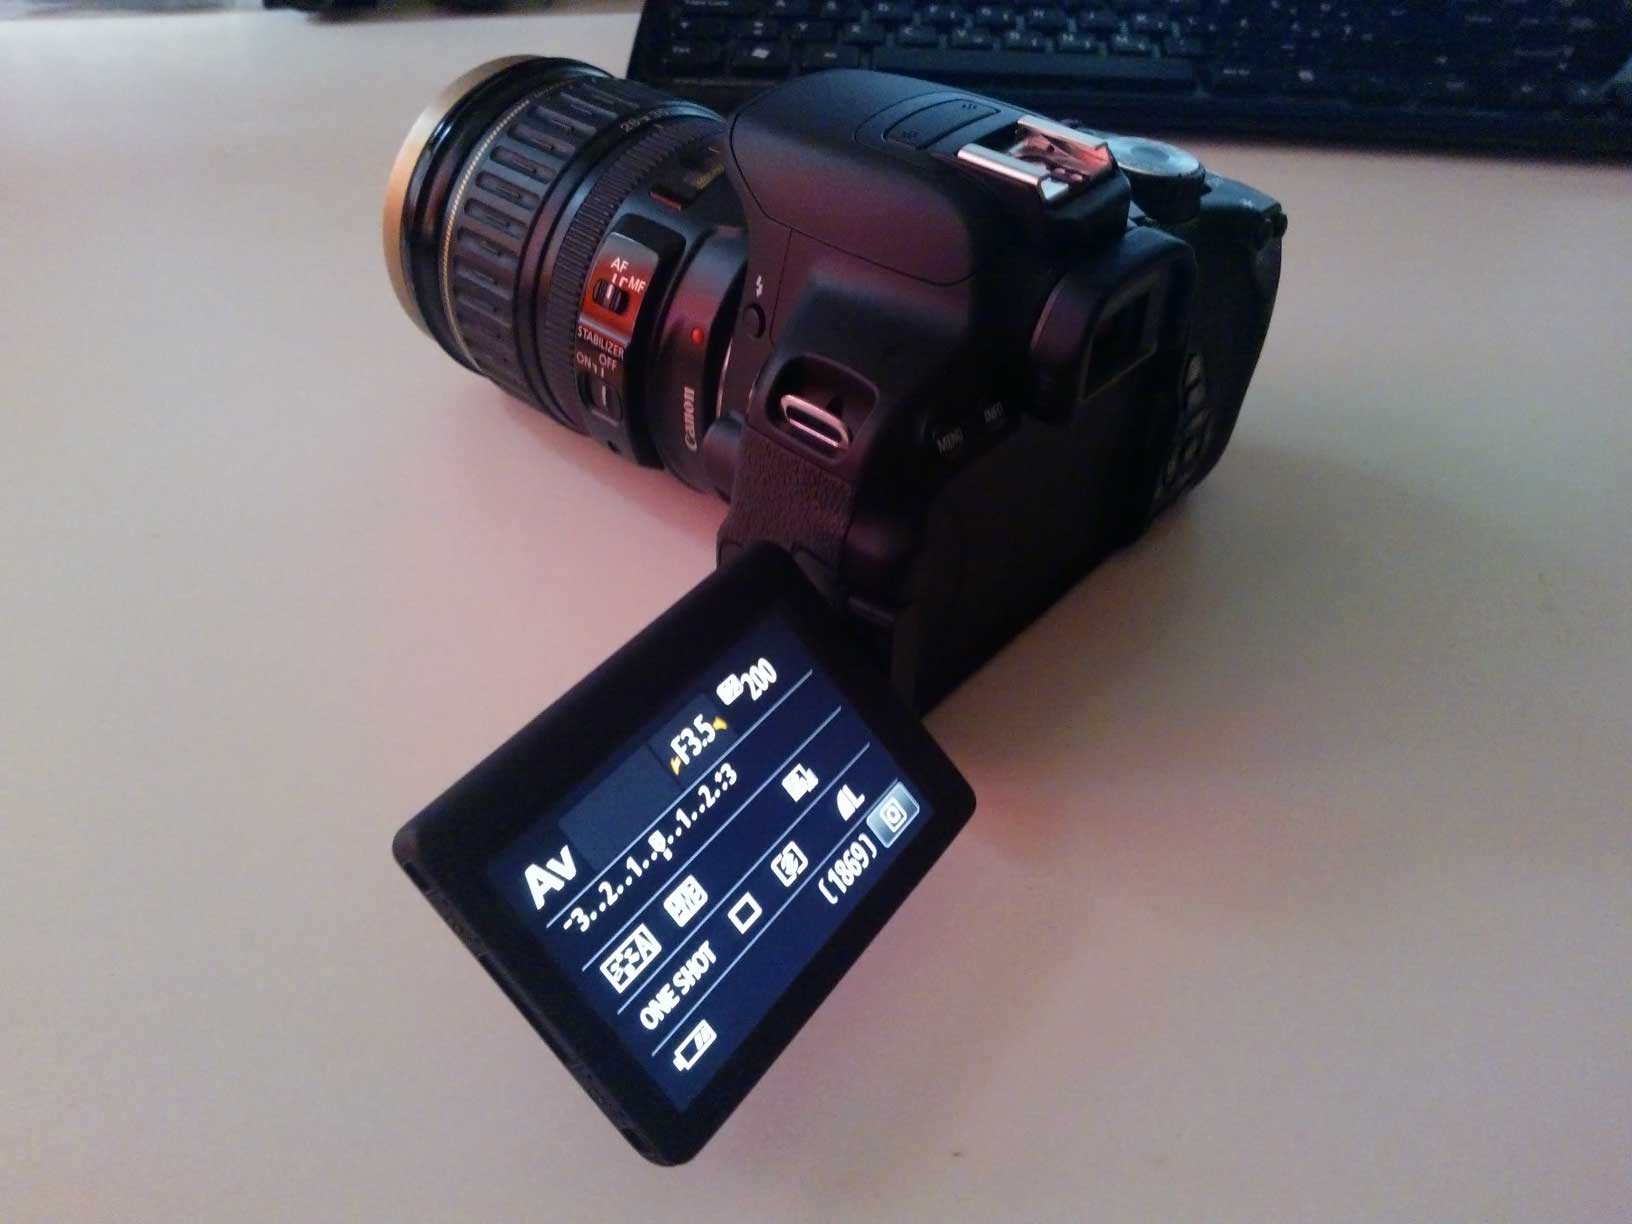
I recently bought a Canon EOS 650D from ebay and got it a couple of days ago.

It is a really nice camera, the body feels a lot more professional compared to the body of my old 350D and the rotating screen is big and bright, a real pleasure to look to. Also, and I know this has nothing to do with the quality of the camera, the sound that the shutter does when taking a photo is much nicer than the old one 😀

I decided to buy a new camera because the colors that the other body captured were like washed away.. also because the camera is 10 years old, but this is not as relevant as the colors.

I took some photos of the same stuff with both cameras to compare the colors and overall quality. They were not taken professionally, I used the P mode (basically setting the ISO speed only), no tripod to make the same exact picture as people use to do, I just snapped. Also no retouching except reducing the image size to something less huge.

The result was unexpected as the colors are not that much different.. Oh well, I’m still happy for the upgrade! It’s time to do some shooting 🙂

I also need a name for the camera, if you have any suggestion just say it. Yes, I’m talking to you, mr. Nobody.

See the photos

Random Access Memories by Daft Punk

The most recent addition to my music collection is Daft Punk’s latest album called Random Access Memories.

Listen to it and enjoy this kind of weird but definitely enjoyable combination of different music genres gathered in one place. I also suggest you check out the Collaborators series available on the website, as it will give you an idea on how the album was produced.

I think my favorite song is Instant Crush (feat. Julian Casablancas).

My vote: 9/10

Adding this code to LocalSettings.php will allow you to upload different filetypes to your wiki.

$wgFileExtensions = array_merge( $wgFileExtensions, array( 'pdf', 'ppt', 'doc', 'docx', 'xls', 'xlsx' ) );

To allow uploads you also need to change the owner of the folder to www-data.

# type in shell
chown -R www-data /var/www/wiki/images/

References:
mediawiki.org/wiki/Manual:$wgFileExtensions
mediawiki.org/wiki/…/Trouble_uploading_after_installation

A short snippet that will delete records from the database. The deletion will occur when you visit the delete_id/somenumber/ url (defined inside urls.py), which will trigger the delete_view function (also defined inside urls.py), delete the record from the database (forms.py) and redirect to the /redirect-url/ (defined inside views.py).

Add an url: urls.py

url(r'^delete_id/(?P<id_to_delete>\d+)$', 'delete_view'),

Create a view that will delete the record: views.py

def delete_view(request, id_to_delete):
    ModelName.objects.filter(pk=id_to_delete).delete()
    return HttpResponseRedirect("/redirect-url/")

References:
https://docs.djangoproject.com/en/dev/topics/db/queries/

This code will generate a Form based on an already existing Model. In Django this is called ModelForm and is a useful feature if you want to quickly create a form that saves data into a database.

Create a model (database table): models.py

from django.db import models
class Regions(models.Model):
    region = models.CharField(max_length=50)
    ...
    def __unicode__(self):
        return self.region

Create a form from the model (ModelForm): forms.py

from ApplicationName.models import Regions
class AddRegionForm(forms.ModelForm):
    class Meta:
        model = Regions

Create a view that will use the form and model: views.py

def add_region(request):
    # if the form is submitted save the new item
    if request.method == 'POST':
        form = AddRegionForm(request.POST)
        if form.is_valid():
            # either you define the fields
            region = Regions(region=form.cleaned_data['region'])
            region.save()
            # or you just save the whole form
            region = form.save()
    # fetch all the regions from the table, ordered by name asc
    regions = Regions.objects.order_by('region')
    context = ({ 'regions': regions })
    # render the template
    return render(request, 'applicationname/regions.html', context)

References:
https://docs.djangoproject.com/en/dev/ref/forms/fields/
https://docs.djangoproject.com/en/dev/ref/request-response/
http://www.djangobook.com/en/2.0/chapter07.html

If you are going to use the auth module that Django provides, you will most likely want to let your users add additional information about them. In Django you do this by extending the Profile model and activating it in the settings file.

Extend the Profile model: models.py

from django.contrib.auth.models import User
class Profile(models.Model):
    user       = models.ForeignKey(User, unique=True)
    address    = models.CharField(max_length=150)
    city       = models.ForeignKey(Cities)
    telephone  = models.CharField(max_length=100)
    birthday   = models.DateField()
    ...

Edit the Settings file: settings.py

AUTH_PROFILE_MODULE = "ApplicationName.Profile"

Add your new Views: views.py

user_profile = request.user.get_profile()
    address = user_profile.address

Create a Template: profile.html

{{ user.get_profile.address }}
# if this doesn't work try 
# user.get_profile().address or 
# request.user.get_profile.address or
# request.user.get_profile().address

References:
http://www.turnkeylinux.org/blog/django-profile
http://www.turnkeylinux.org/blog/django-signals

You are going to need this in case you want to allow users creating an account to input more than just their username and password.

Import everything you need: forms.py

from django.contrib.auth.forms import UserCreationForm
from django import forms
from django.contrib.auth.models import User

And your class that uses the UserCreationForm class (still in forms.py)

class RegisterForm(UserCreationForm):
    # declare the fields you will show
    username = forms.CharField(label="Your Username")
    # first password field
    password1 = forms.CharField(label="Your Password")
    # confirm password field
    password2 = forms.CharField(label="Repeat Your Password")
    email = forms.EmailField(label = "Email Address")
    first_name = forms.CharField(label = "Name")
    last_name = forms.CharField(label = "Surname")

    # this sets the order of the fields
    class Meta:
        model = User
        fields = ("first_name", "last_name", "email", "username", "password1", "password2", )

    # this redefines the save function to include the fields you added
    def save(self, commit=True):
        user = super(UserCreateForm, self).save(commit=False)
        user.email = self.cleaned_data["email"]
        user.first_name = self.cleaned_data["first_name"]
        user.last_name = self.cleaned_data["last_name"]

    if commit:
        user.save()
        return user